Thread nests and skipped stitches: the causes, in the order to check them
A tangle of thread under the fabric, or a stitch that goes missing now and then: the cause is almost always the threading, the bobbin or the needle, well before the tension. Here's what to check, and in what order.
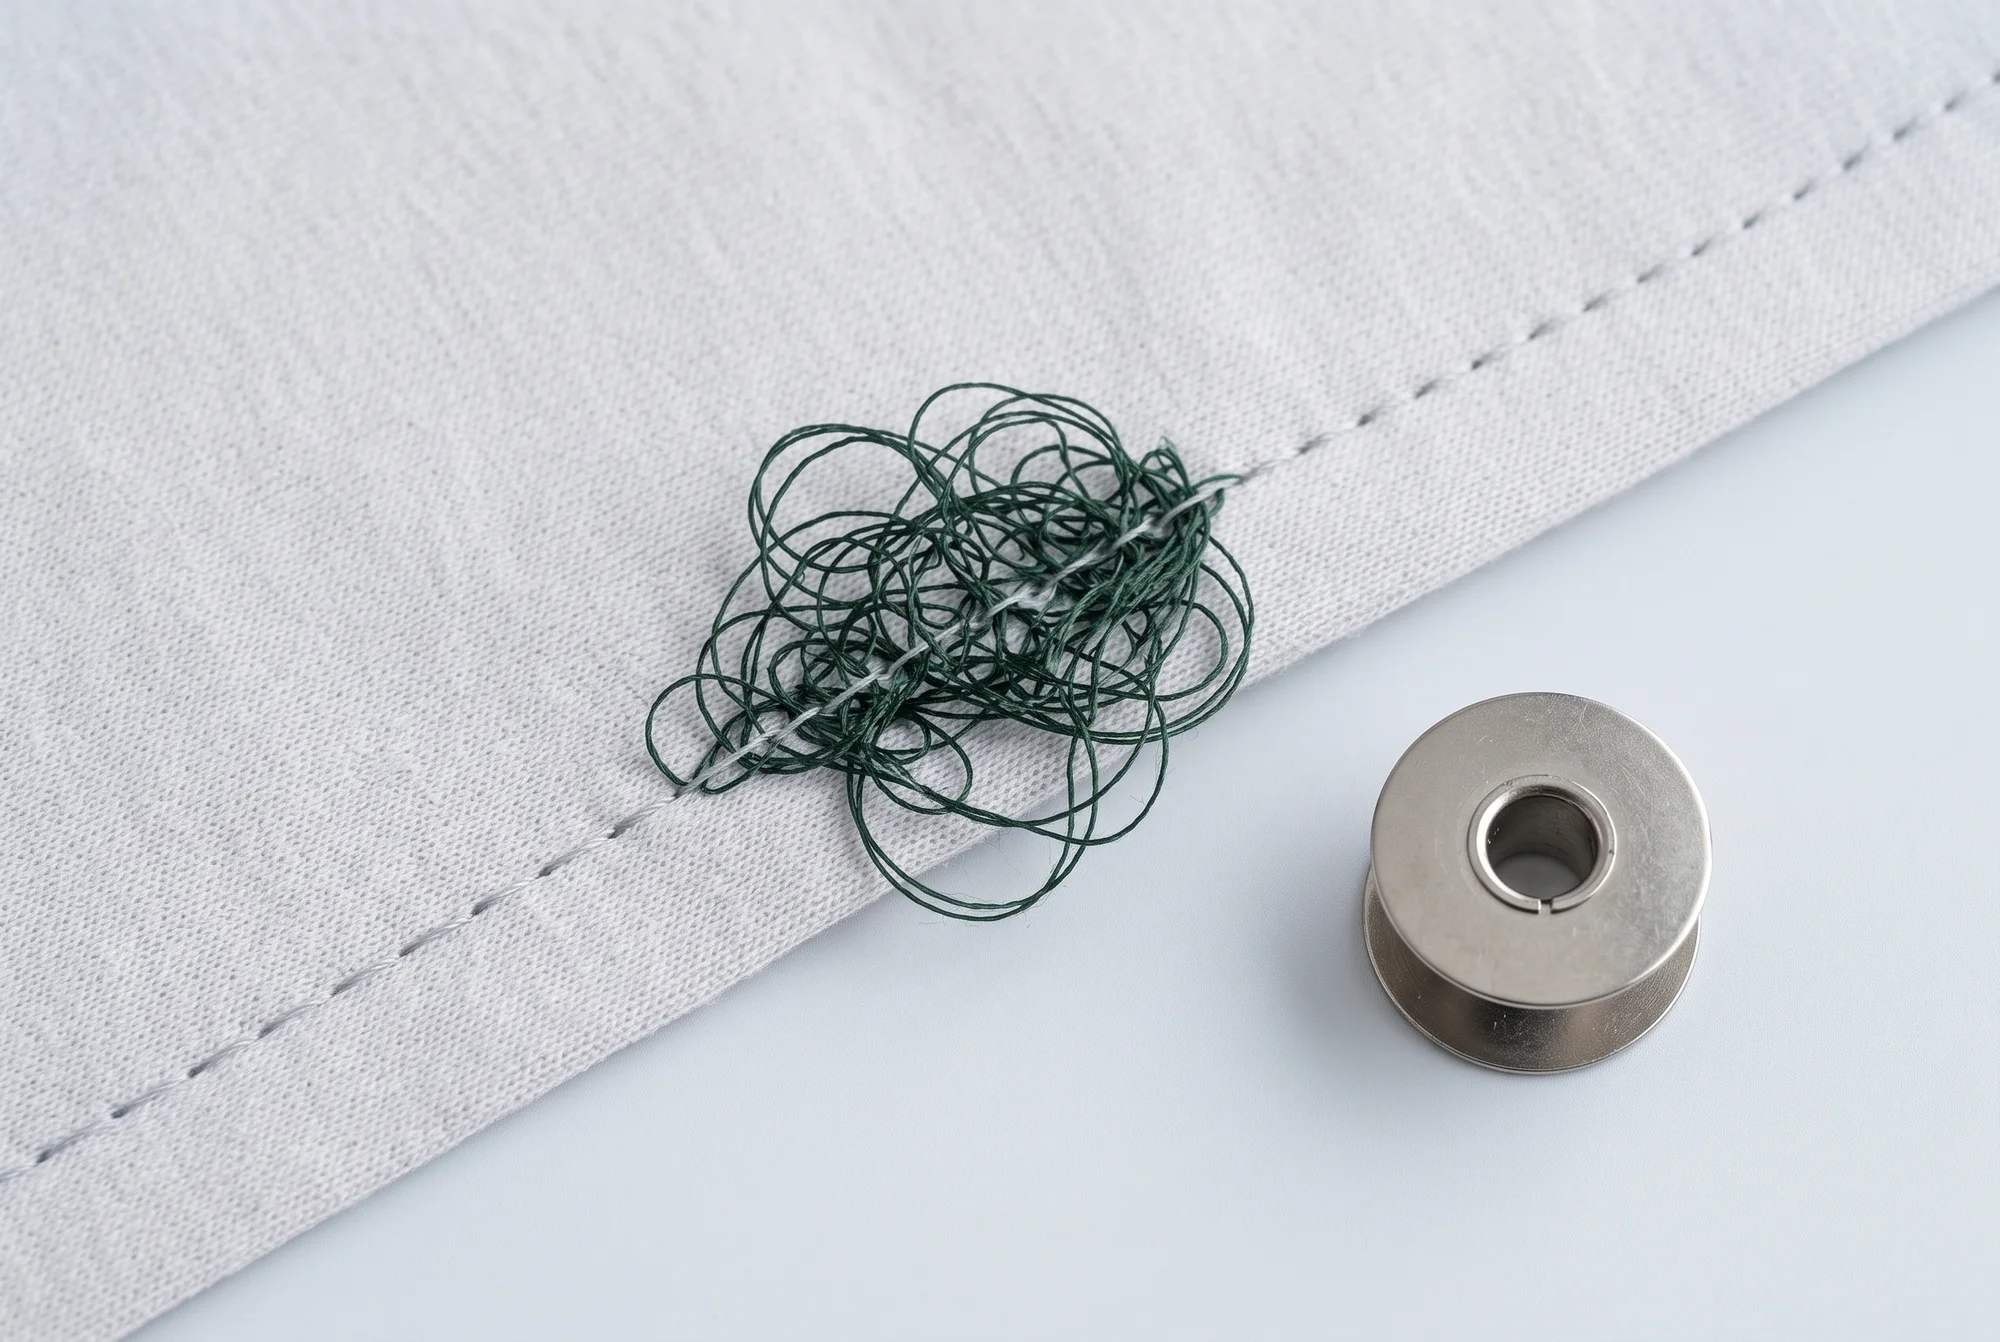
You sew a straight seam, turn the fabric over, and find a tangle of thread on the wrong side, a nest. Or the seam looks fine, but a stitch is missing here and there: that's a skipped stitch. These are the two most common problems for beginners, and they make you think the machine is faulty. Often it isn't: the tables in the manuals point to simple causes, checkable in a few minutes. The trick is checking them in the right order.
Two symptoms, two different clues
Before touching anything, look at where the problem is.
Loops and tangles under the fabric. Here the culprit is almost always the thread coming from above, the upper thread (the needle thread). Singer states it without mincing words: loops on the wrong side of the fabric are always a sign that the upper thread isn't threaded correctly. Brother explains the mechanism: if the upper thread is threaded wrong, the thread that has passed through the fabric doesn't get pulled back up, and tangles around the bobbin case, the holder that contains the bobbin of lower thread.
Missing stitches. Here the suspect is the needle. Under the plate, a hook has to catch the loop of thread the needle carries down, and interlace it with the bobbin thread. If the needle is bent, blunt, fitted wrong, or unsuited to the fabric, the loop doesn't form where the hook expects it, and the stitch is skipped. Janome's tables put a wrongly inserted, bent or blunt needle, and a needle unsuited to the job, right at the top.
Why the order matters
The temptation is to reach straight for the tension dial. It's better saved for last: if the thread hasn't entered the tension mechanism, turning the dial won't hold it back anyway, and once you rethread correctly you'll find the setting has drifted. The steps below start with what costs least and goes wrong most often, and only reach the tension at the end.
Threading with the foot raised
This is the most surprising cause. Along its path, the upper thread passes through the tension, the mechanism that holds it back so the stitch closes properly, and through the take-up lever, the arm that rises and falls, pulling the thread up at every stitch. If you thread the machine with the foot down, the thread may not seat where it should. Brother says it plainly: if the foot isn't raised, the machine can't be threaded correctly, because with the foot down a spring in the thread guide stays closed. Singer asks you to raise the foot and bring the needle to its highest position, so the thread settles properly into the tension and the take-up lever.
The bobbin
The nest can also come from below. Janome's tables point to the bobbin thread threaded wrong into the case, lint built up in the bobbin holder, and a damaged bobbin that doesn't turn smoothly. Brother asks you to use only the bobbin type intended for the machine: the manual states which. Janome recommends, as a general rule, the same thread in the needle and the bobbin.
The needle
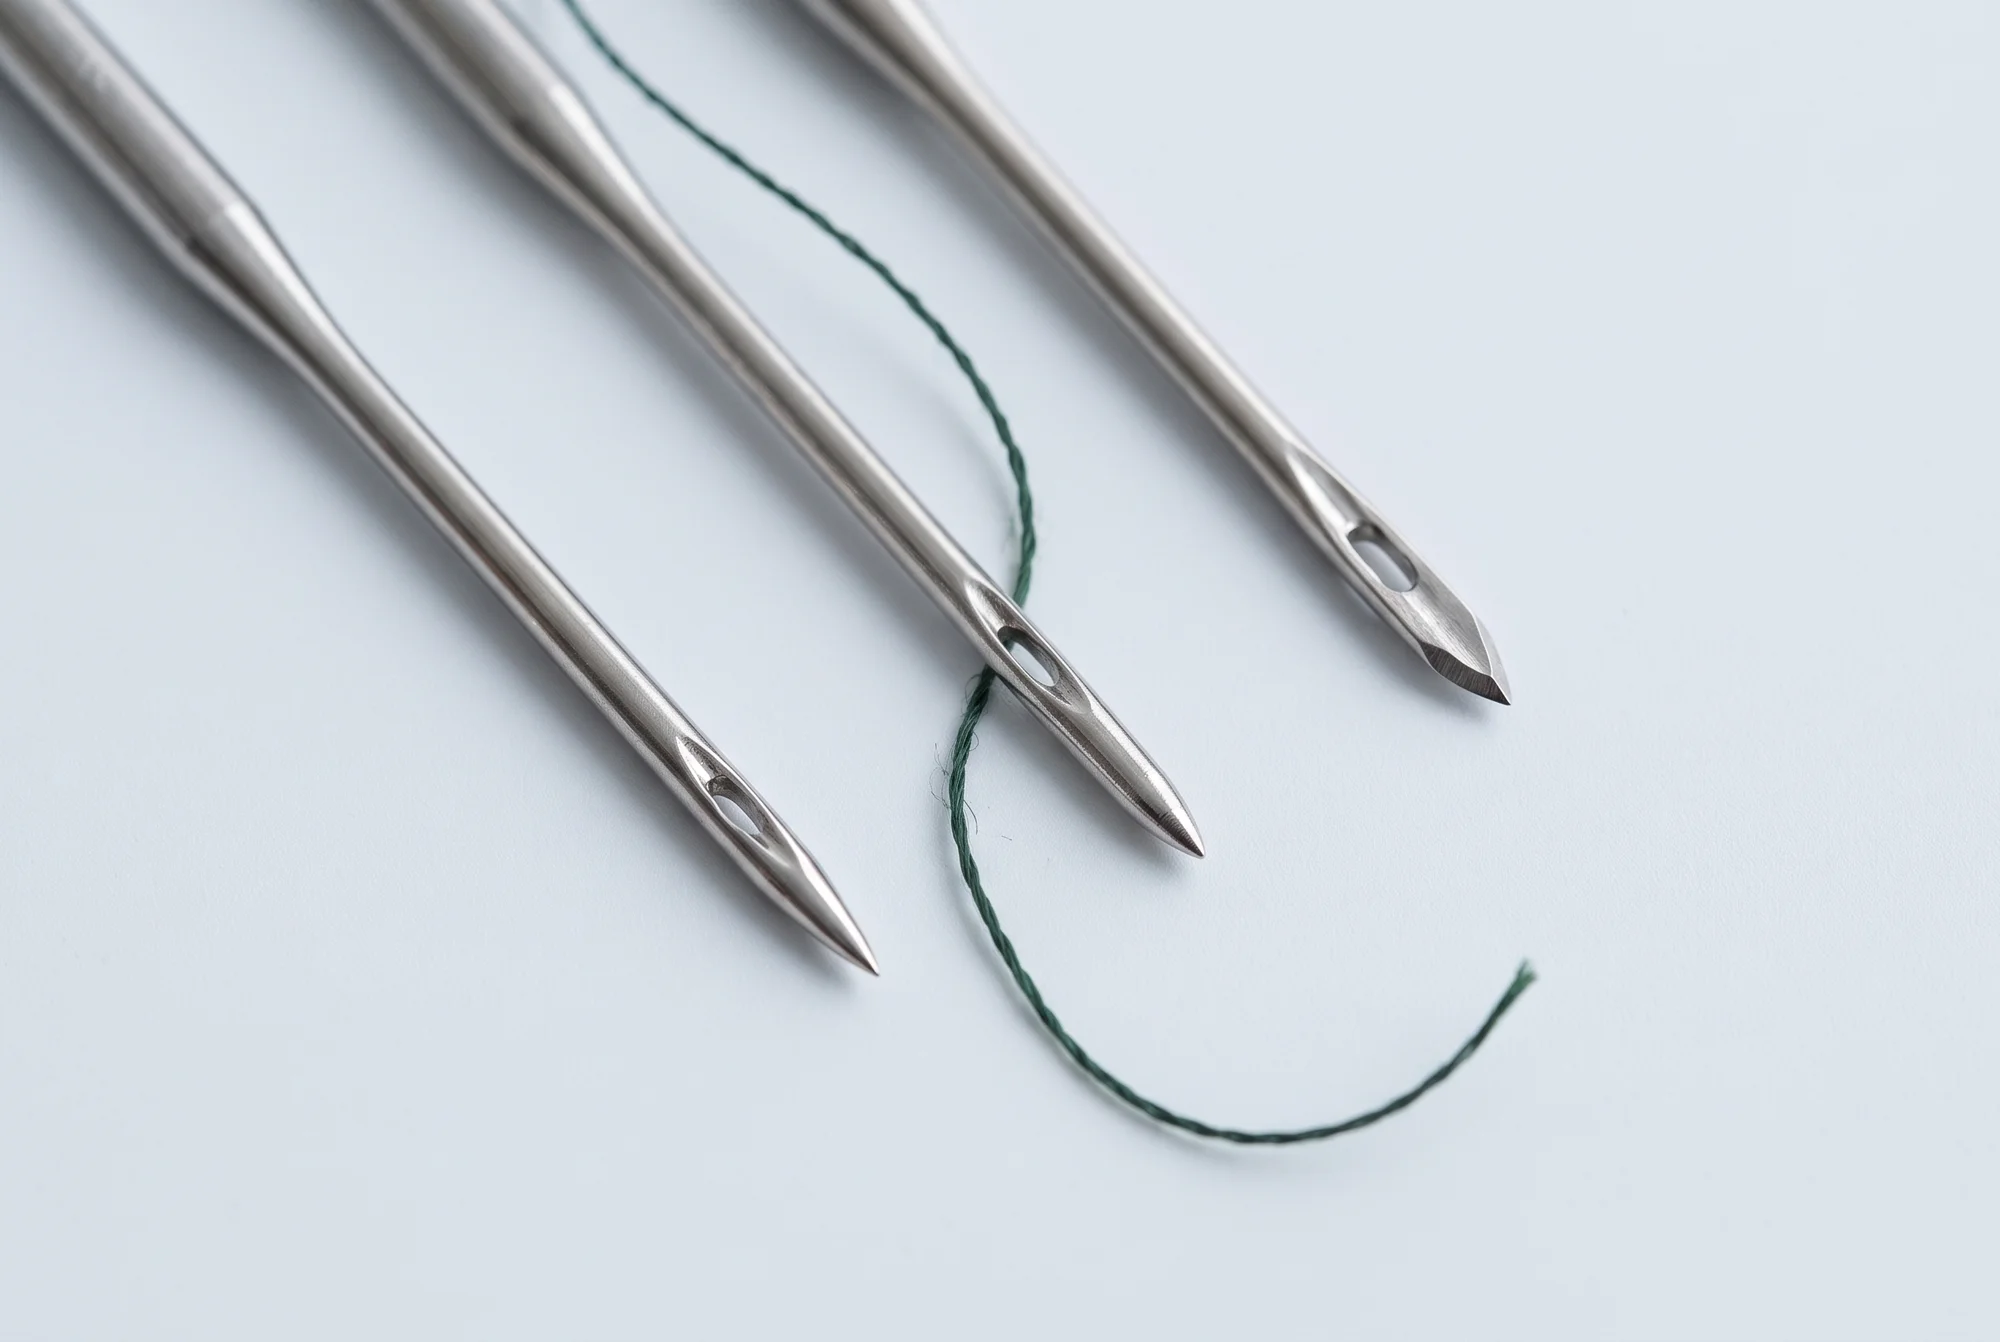
A new needle costs little and often fixes the problem. Janome suggests a test: rest the flat side of the needle on a flat surface, such as the plate or a piece of glass. The gap between the needle and the surface should be even along its whole length; if it isn't, the needle is bent. Schmetz adds another test: pass the needle through an old pair of sheer tights; if it snags or pulls the threads, the point is damaged.
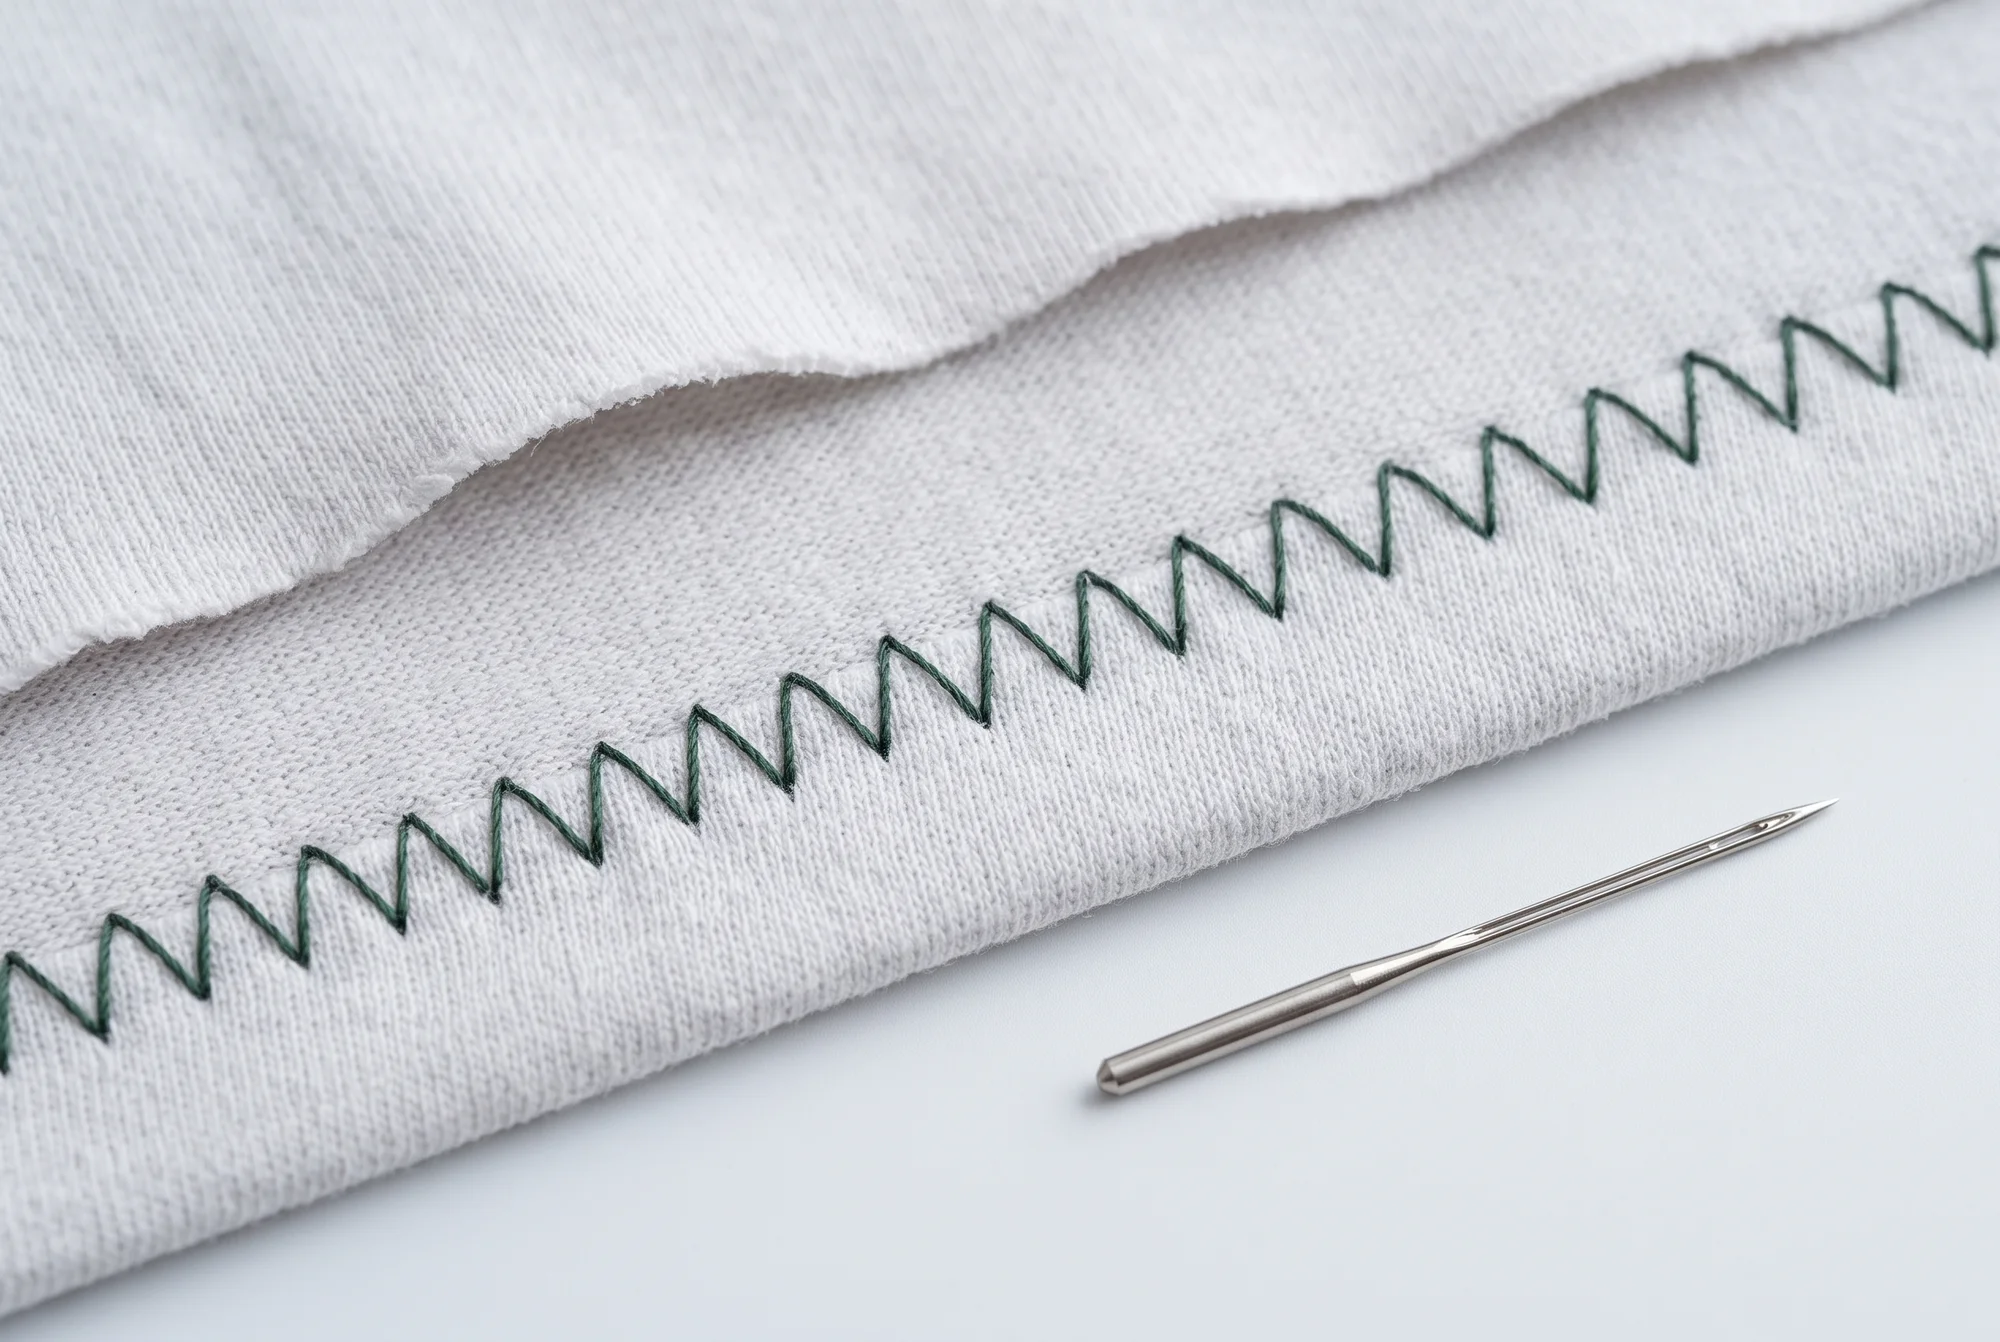
The type matters too. For knits, Singer and Brother recommend a ball-point needle, Janome its own blue-tipped needle. And the size has to match the thread, which needs to move freely through the eye. The guide on the right needle for the fabric explains how to choose one.
Dust and lint
Fabric sheds lint, extremely fine fibres that build up under the plate. In Janome's tables, lint comes up more than once: in the bobbin holder, where it breaks the lower thread; on the feed dogs, the teeth that move the fabric forward; and in the hook's housing, where it makes the machine noisy. Cleaning is simple, with the brush provided, but it has to be done with the machine off and following the manual: we explain this in cleaning and oiling your sewing machine.
Tension, last of all
Only after rethreading, changing the needle and cleaning should you look at the seam. Janome describes a correct straight stitch like this: the two threads cross between the two layers of fabric, and the seam looks the same on both sides. If the bobbin thread lies flat on the wrong side, the needle tension is too loose; if it's the needle thread lying flat on the right side, it's too tight. Janome also lists tension that's too loose among the causes of loops under the fabric: that's why it should be checked, but after the threading. Adjust the tension a little at a time and test on a scrap of the same fabric, with the same number of layers.
When it's the machine
If you've gone through every step, with a new, suitable needle, the threading redone and the machine cleaned, and the problem remains, it's worth taking it in for servicing. This happens less often than you'd think.
In brief
Nest under the fabric: rethread the upper thread with the foot raised. Skipped stitches: change the needle and choose one suited to the fabric. Then the bobbin, cleaning, and, last of all, the tension. The steps below are in the order to do them.
Sources
Step by step
-
Bring both threads under the foot, toward the back
Before you start, pull the needle thread and the bobbin thread under the foot and toward the back of the machine: Janome recommends 10-15 cm. Singer names loose threads as a cause of tangles at the start of a seam.
-
Rethread the upper thread with the foot raised
Remove the thread, raise the foot, bring the needle to its highest position, and rethread following every guide in the manual, including the take-up lever. With the foot down, the thread doesn't seat in the tension.
-
Check the bobbin
Remove the bobbin, clear away any tangled thread, and put it back as the manual shows, guiding the thread through its slot. Check that it's the type intended for the machine and that it turns smoothly.
-
Change the needle
Fit a new needle with the flat side facing the back and push it all the way up before tightening the screw. If you're unsure about the old one, rest it on a flat surface: if it doesn't sit evenly, it's bent.
-
Check the needle is suitable
Ball point for knits, a size suited to the fabric and the thread. If the thread doesn't move freely through the eye, the needle is too fine for that thread.
-
Clean under the plate
With the machine off, brush the lint out of the bobbin holder, the feed dogs and the hook housing, following the manual.
-
Only now, adjust the tension
Sew on a scrap and check both sides. If the bobbin thread lies flat on the wrong side, tighten the needle tension a little; if it's the needle thread lying flat on the right side, loosen it. A small step at a time.
-
If nothing changes, ask for servicing
With a new needle, the threading redone and the machine cleaned, a problem that remains should be looked at by a service centre.
Three examples from the catalogue

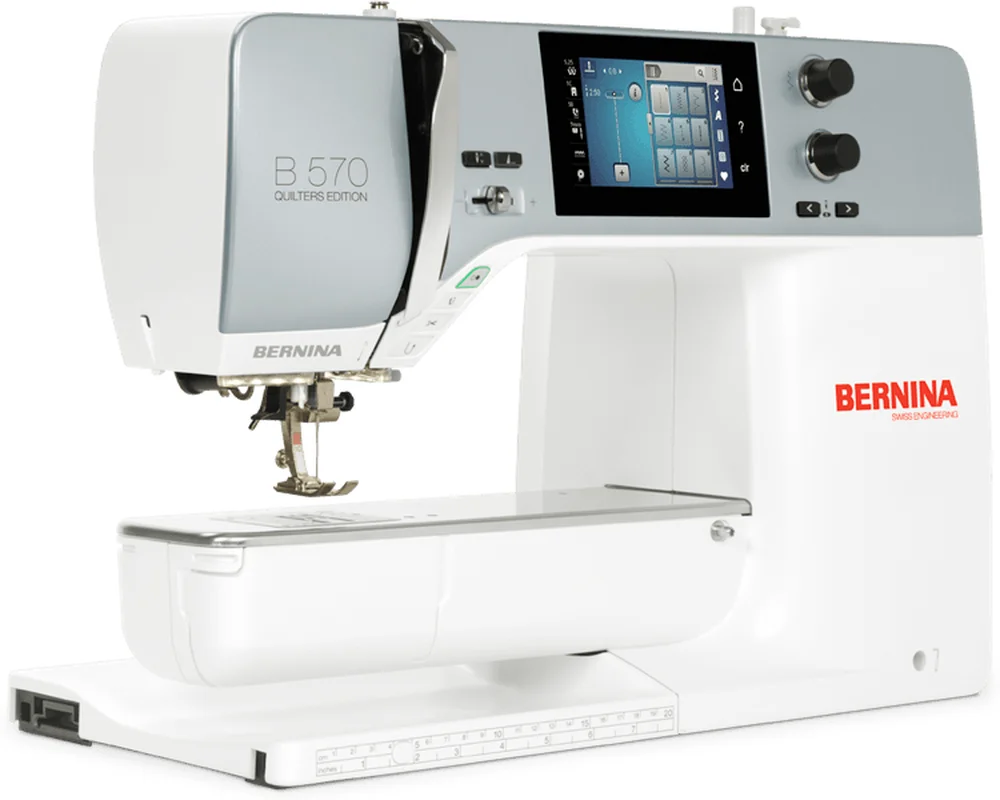
Why it's here Needle type: Universal · manufacturer's source
Why it's here Thread sensors: Upper thread · manufacturer's source
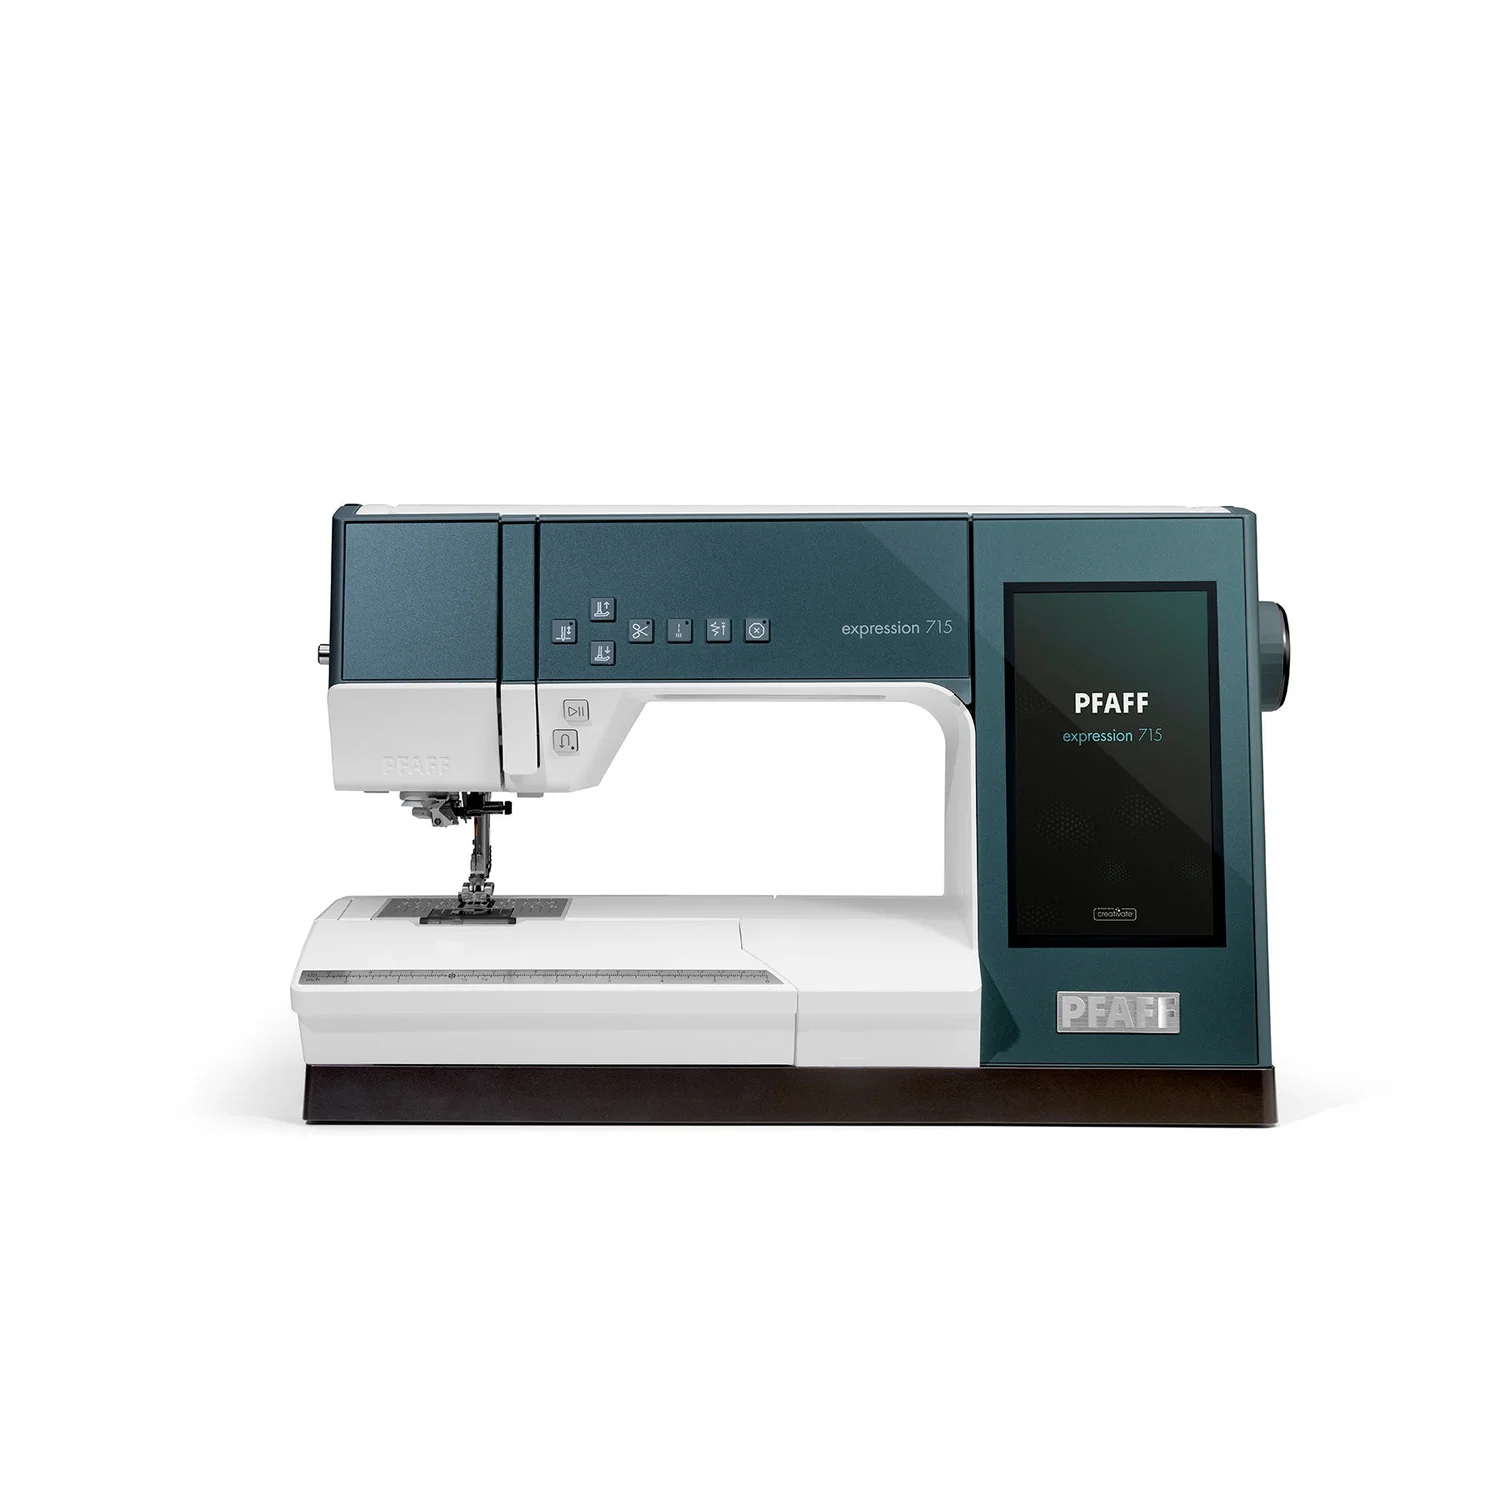
Why it's here Thread tension: Automatic · manufacturer's source